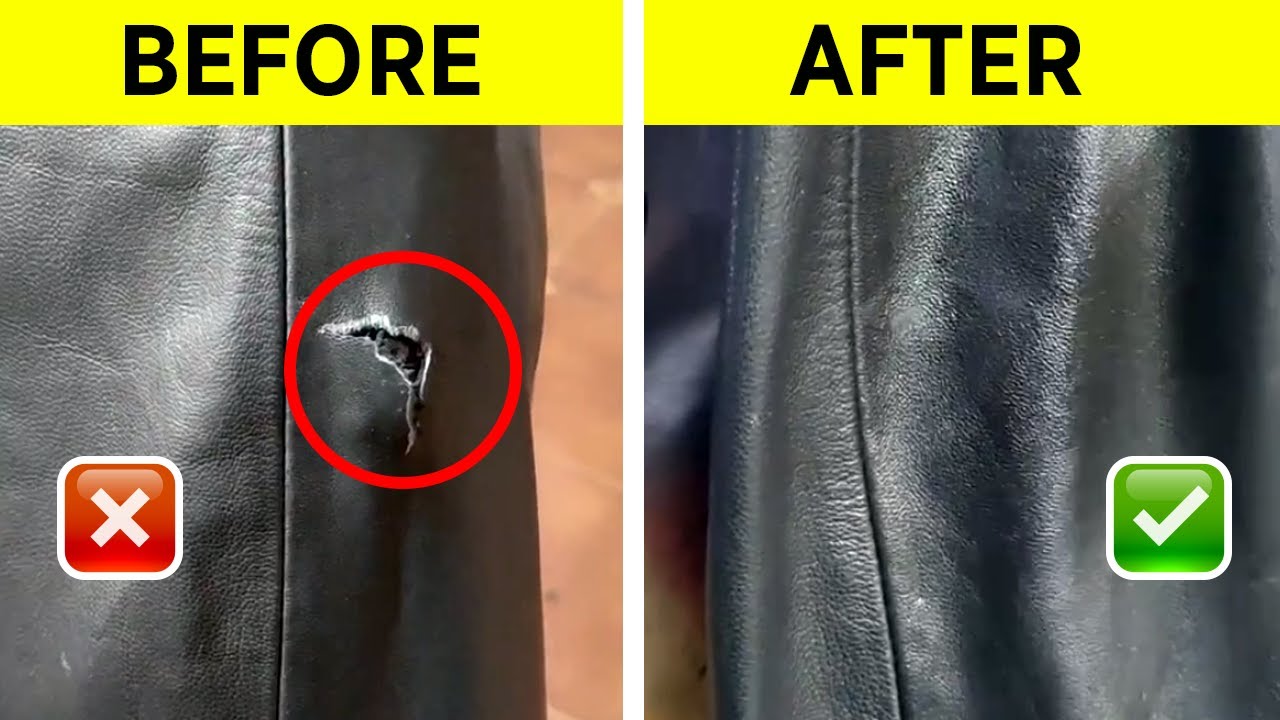
Luxury materials such as leather are considered an asset that will last decades since they are considered an investment. Different types of leather crack and peel over time, and due to rough handling, the jacket might tear as well. Fortunately, you can fix your ripped leather jacket easily.
Essential Tools
Various tools will be required to mend your ripped jacket, which are available at any hardware store. These tools are;
- Sewing Needle
- Thread
- Seam Ripper (Stitch opener)
- Tape
- Leather patch (Preferably matching the leather on the jacket)
Steps
Steps include the following seven steps, which together produce the best result possible. As all the stitching work is done inside-out, you won’t even have to worry about sacrificing the look of your leather jacket.
1. Position
In order to install the leather patch, you need to fold your leather jacket inside out. The leather patch will be sewn underneath the lining. Put the jacket flat in the place where the rip actually occurred. Pull the sleeves out of the jacket and lay it flat.
2. Ripping up
In cases where your lining is intact, you might need to cut the cloth to reach the ripped leather piece from the inside. The surgery will remain a secret and only you know what you have done. You don’t have to worry about tearing your jacket.
3. Alignment
As you reach the main part, you must align the torn leather patch to its end to sew precisely where it was ripped. You can use the tape for help. Trim the tape, stick it to a wall or wood, align the piece, and tape it in place to get maximum accuracy while sewing.
4. Glue the Patch
There is one more thing you need to do before sewing. Apply fabric glue to the leather patch, then paste on the patch, so there is no possibility of error. Wipe off any excess glue and let it dry.
5. Sew the Patch
Now you have your leather patch. Put the patch over the ripped area right through the lining of the leather jacket. Now you are ready to stitch the jacket back together.
6. Final Step
Now that the patch is sewn on, it’s time to close the jacket’s lining. As soon as you have patched the ripped part of the jacket, sew the lining because it is a secret that will remain with you.
Conclusion
Following the steps listed above will enable you to renew your torn jacket and keep its style element. You are all set now to rock the world.